

Are you thinking, “I want to start building a city in Minecraft, but I don’t know where to begin”?
When it comes to city building, jumping in without a plan can lead to results that differ from what you initially imagined, or end up unbalanced. That’s why it’s important to move forward in well-planned steps.
The first step is preparation. This includes deciding the direction of the city you want to build and forming a clear design concept. By deciding on the city’s theme and purpose at the start, and thinking about the overall layout, it becomes easier to proceed without hesitation later on.
Having a solid plan helps you visualize how your city will grow and evolve, leading to the creation of a well-organized and attractive city.
Let’s take a look at the specific steps to get started!
Solidifying Your City’s Image
What kind of city are you currently imagining?
It’s okay if the image is still vague. If nothing comes to mind, try imagining something like:
- The city where you were born and raised
- The town where your grandparents live
- A memorable travel destination
- A major city like Tokyo or Osaka
Does that help you form a mental image?
Now, think about the specific shape or layout of the city you’re envisioning.
Let’s turn that mental image into a more concrete concept and decide the direction you’ll take.
Deciding the City’s Direction
Japanese cities are incredibly diverse and can be categorized into several types. Here are a few examples:
- Ancient capitals: Early planned cities of ancient Japan with rectangular shapes and grid-like roads
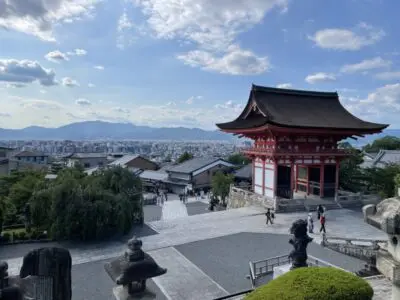
- Monzenmachi (temple towns): Towns developed along roads leading to shrines or temples
- Terauchi-machi: Towns formed by Buddhist monks and their followers for self-governance and defense
- Minato-machi (port towns): Towns located by the sea or rivers, focused on trade
- Shukuba-machi (post towns): Rest stops along main roads, also centers of commerce
- Zaigō-machi: Rural towns developed by farming communities with growing commerce or industry
- Jōkamachi (castle towns): Towns built around a castle, often divided by class or function
- Pioneer cities: Planned towns established during the Meiji period, especially in Hokkaido
- Garden cities: Towns designed to combine the best aspects of urban and rural living
- New towns: Suburban developments built after WWII to address housing shortages
Surprised by the variety?
You can decide the direction of your city by matching your vision with one of these types.
If you’re unsure about which city type matches your image, feel free to explore them more.
Choosing a World Type
Once you’ve decided on the direction of your city, the next step is choosing the right world type for development.
When creating a new world in Minecraft, you can choose from the following world types:
- Default: Varying terrain with multiple biomes
- Superflat: Completely flat terrain, stretching infinitely
- Large Biomes (Java only): Each biome spans a much larger area than in default
- Amplified (Java only): More extreme terrain elevation than default
- Single Biome (Java only): One biome covers the entire world, with normal terrain variation
Each world type has pros and cons. Let’s take a look at each type starting with Default.
(Note: Amplified is great for fantasy builds, but since we’re aiming for realistic cities, we’ll skip it for now.)
Default
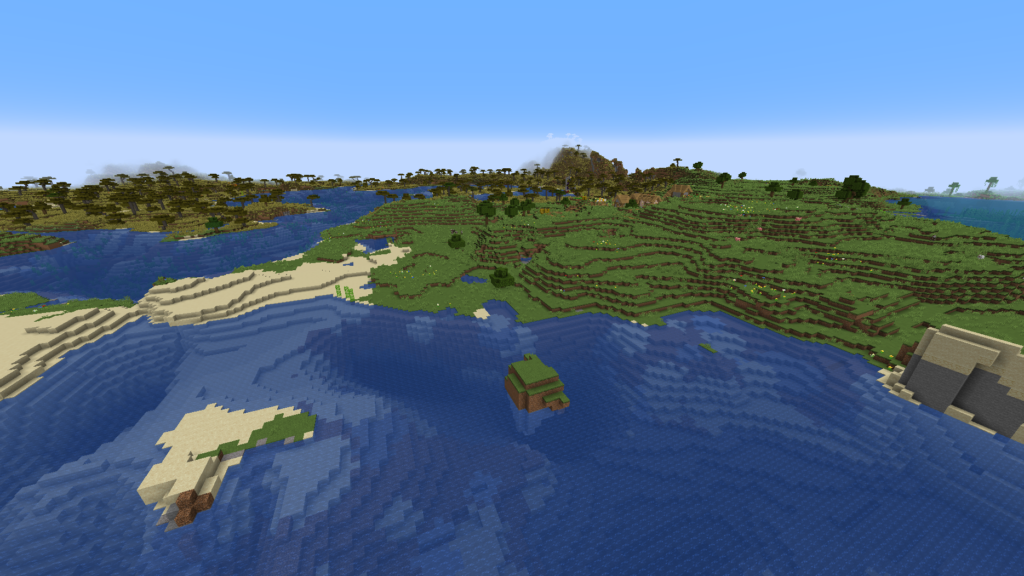
The Default world type is the most common and familiar to most players.
It features varied terrain and diverse biomes, making it ideal for architecture that takes advantage of natural landforms.
Superflat
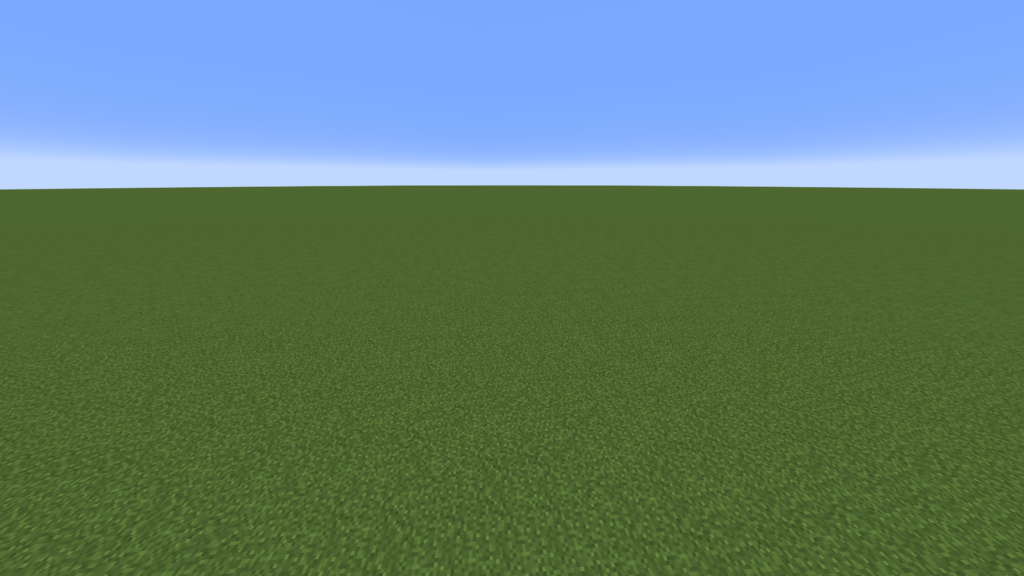
The Superflat world type is completely flat and stretches endlessly.
It’s ideal for creative mode building or specific projects, as you can start building right away without terrain modification.
However, it’s rarely used in survival mode due to the lack of natural resources and biome diversity.
Large Biomes
In this type, each biome is much larger than in the default world.
This allows for expansive scenery and extended building within the same biome.
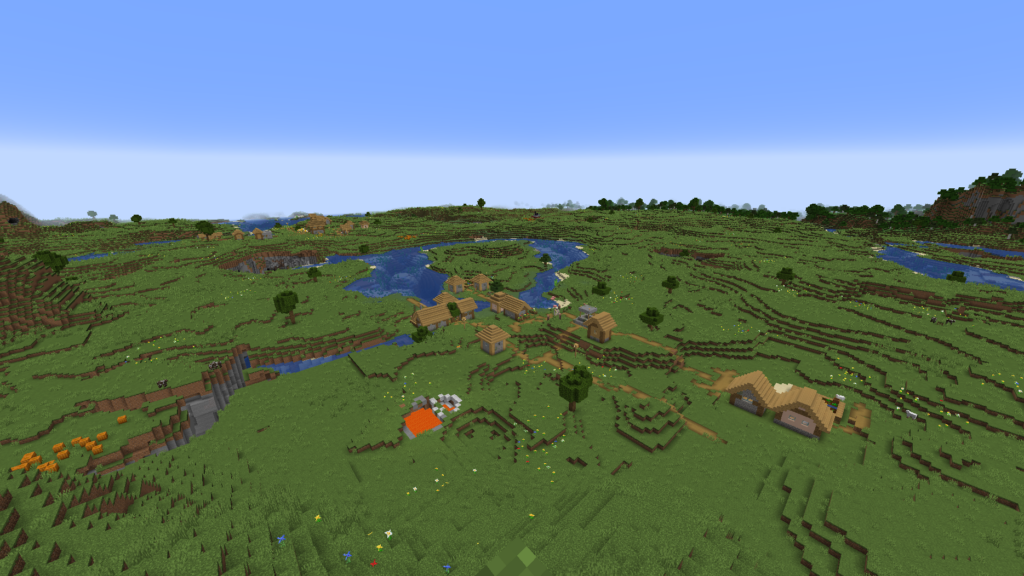
Single Biome
This type features varied terrain but only one biome across the entire world.
While terrain has natural ups and downs, the scenery remains consistent.
Recommended World Type
So, have you found the world type that suits you best?
One key factor in choosing a world type is the scale of your city.
If you’re planning a large-scale city (e.g., 500×500 blocks), you’ll need a large flat area.
You could use Superflat, or flatten Default terrain manually.
However, for extra-large cities (1000×1000 blocks or more), flattening becomes a huge task.
In such cases, Superflat allows you to start building right away.
Personally, I recommend Superflat unless you have a specific reason not to. Here’s why:
- You can start building immediately without preparing the land
- It’s easier to lay out buildings and infrastructure
- If you later need elevation, tools can help you add it manually
That said, if you’re passionate about using natural terrain, Single Biome is a good alternative.
Conclusion
This was the first step in building a city in Minecraft: the preparation phase.
Preparation is essential for ensuring your city-building project goes smoothly. With a solid plan, you’ll be able to proceed without hesitation once construction begins.
Let’s recap today’s key points:
- Visualize Your City
Start by imagining the type of city you want to build.
Is it a bustling metropolis or a quiet rural village?
Decide on the atmosphere and key features to define the city’s character. - Determine the City’s Form and Direction
Match your imagined city with a real-world city type.
Decide on essential components like central facilities, traffic flow, and residential layout. - Choose a World Type
Pick the Minecraft world type that best supports your vision.
Whether it’s the realism of Default terrain or the ease of Superflat, this choice impacts how you build.
By preparing thoroughly, you’ll be able to build smoothly and take the first step toward your ideal city.
Once you’re ready, it’s time to move on to planning!
Thanks for reading to the end!
コメント